Where does the Easter Bunny as a symbol of Easter come from?
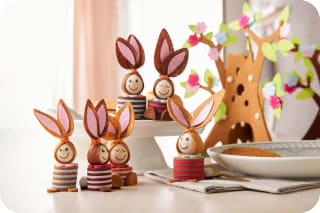
When Easter is just around the corner, children eagerly wait for the Easter Bunny to finally visit them. Especially the tasty treats and the search for the Easter eggs makes Easter something very special, especially for young children.
Why exactly a hare brings the eggs at Easter is not clearly explained. There are almost countless variants and explanations about the meaning of the hare as an Easter symbol. One of them, for example, says that the hare, as the animal of the love goddess Aphrodite, is regarded as a messenger of the gods. Together with the egg it is a sign of fertility and new life - fitting for the season of spring, in which new life also awakens everywhere in nature. Therefore the Easter Bunny is also the symbol for the beginning of spring.
With the belief in the Easter Bunny you promote the imagination of your kids. This way they learn a lot about the Easter celebration and associated customs. Much more important, however, is that your kids are able to freely develop their creativity.
How long the belief in the Easter Bunny lasts depends on your powers of persuasion, but much more on your children's own judgment . Your kids believe in the Easter Bunny until they begin to question him. This usually happens in primary school age, when they talk with their friends.
As parents, you don't need to and shouldn't do much to this. Simply support your children in their belief and stand by them when they have doubts. Only in this way do they learn to trust their own judgment.
The making Easter bunnies is simply part of Easter. In general, this promotes the fine motor skills of your children. Your little crafters learn to use their creativity and give expression to their imagination.This allows them to put their idea of the Easter Bunny on paper
and excitedly discuss with you which characteristics and tasks they attribute to the cute bunny.Easter decorations for your family celebration.
Great craft templates & ideas for crafting Easter bunnies with children
Easter bunny craft template for your Easter bouquet
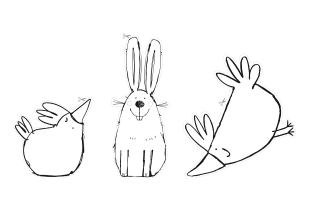
Do you want to make your Easter bouquet really colorful and unique? Then simply craft these very special DIY ornaments featuring Pick and his friends.
Finger bunny craft template
Make your funny finger bunnies as colorful as you like. Just download the template and start painting right away!
Materials for crafting cute Easter bunnies
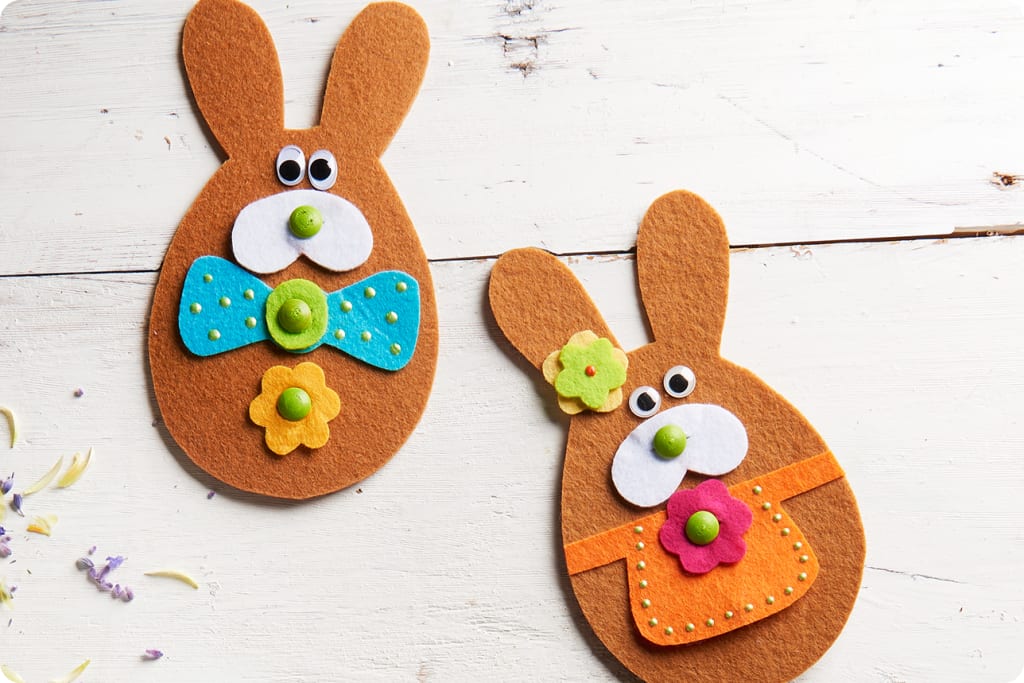
Besides lots of fun, great ideas and enthusiasm for crafting at Easter, you'll of course also need the right materials and crafting supplies.
To give you an overview, HABA has listed the most important craft items for you. You probably already have some of them at home, so you and your kids can start crafting right away.
What you need for cute Easter bunnies:
Paper, card, cardboard
Toilet paper rolls
Yarn
Modeling clay
Colored construction paper
Translucent paper
Felt
Needle & thread
Craft glue / adhesive
Pens & paints
Acrylic & watercolor paints
Paintbrushes
Craft scissors
Simple craft instructions for Easter bunnies
On your marks, get set, go: You can probably hardly wait and want to start crafting your cute Easter bunnies right away. So what are you waiting for? Grab your craft supplies and materials and create beautiful bunnies for Easter. Whether as decoration or just a small craft project for in-between, here you'll certainly find the right ideas for your Easter bunnies. We've put together three step-by-step guides for your shared crafting sessions.
Guide 1: Make Easter bunnies from modeling clay
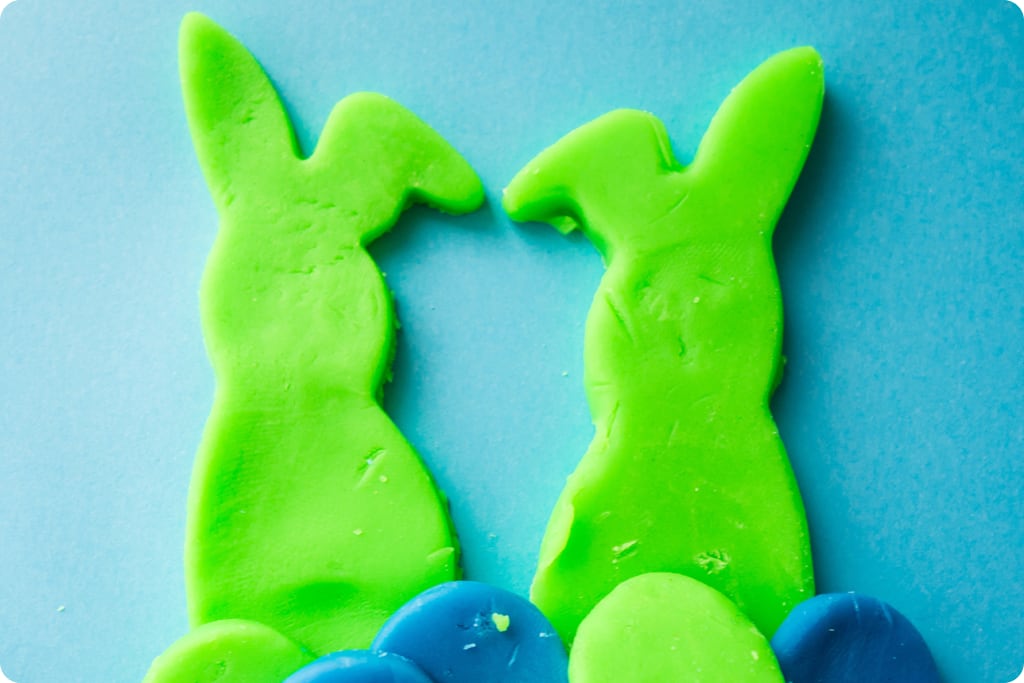
Materials needed:
Play dough or modeling clay
Modeling tools
Rolling pin
Optional: cookie cutters for cutting out shapes
Optional: craft template (printed or pre-drawn)
Plastic mat
Here's how:
First prepare your workspace by putting the tablecloth and any distracting items aside. Spread out your plastic mat and you're ready to start.
Your children can eagerly dig into the clay and knead it thoroughly. This way they'll get a feel for the material.
Easter bunnies can be made from clay in different ways. We've picked out two ideas for you.
The first variant: Split the dough into several pieces in your favorite colors and in different sizes so that you can form at least three balls from it. Form balls by taking a piece of dough in your hand and rolling it between your palms. Use the largest ball as the bunny's body, then a medium-sized ball for the head, and a very small ball for the pompom tail. Now you just need to shape the bunny ears and craft eyes, mouth and nose for the bunny. And your modeling-clay Easter bunny is ready.
The second variant: Lay your dough out on the table and roll it with a rolling pin until you have a smooth surface. With a toothpick you can sketch an Easter bunny on the dough, then cut it out with a knife. You can also use bunny-shaped cutters and punch them out of the dough. This is the method your children will especially enjoy and it's not too difficult. Of course an Easter bunny belongs with Easter eggs. You can also cut those out with cutters. Now you just need to press them together with your little bunnies and you're done.
Guide 2: Easter bunny coloring pages
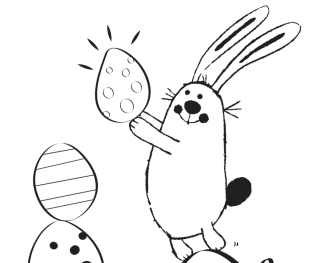
Materials needed:
Coloring page (printed or pre-drawn)
Markers & paints
Blank paper or colored construction paper
Craft scissors
Craft glue
Here's how:
Once you've downloaded and printed your coloring page, your children can let their creativity run wild. With colorful markers and paints they can decorate their Easter bunny as they please.
You can also embellish your coloring page. Whether glitter, small stickers or details you draw yourself – you decide how your bunny should look in the end.
If you want to place the coloring page on handmade Easter cards or even place it on a larger poster, you can cut it out and glue it onto the desired paper.
Instructions 3: Make clothespin bunnies
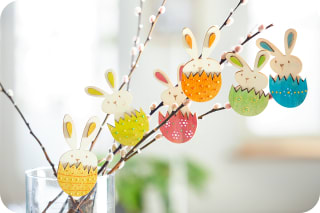
Required materials:
Wooden clothespin bunnies
old newspaper
acrylic and water-based paints
paintbrushes
colored pencils
pearl markers
Here's how:
First lay out old newspaper on your work surface. This ensures the table doesn't accidentally end up covered in cheerful colors while you paint your clothespin bunnies.
Take the clothespin bunnies out of the packaging and place them in front of you. Paint the Easter eggs on each clothespin bunny in your favorite colors. Whether single-colored, two-toned or a mix of several colors – you can design them however you like.
Let your clothespin bunnies dry completely.
Once your clothespin bunnies are dry, decorate the eggs with pearl markers. You also have creative freedom with these patterns: you can use anything from dots to stripes.
Now it's time for the bunnies' faces. Paint the eyes and little noses with colored pencils. If you want something fancier, you can also glue small googly eyes onto your cute bunny.
Finally, just attach your finished clothespin bunnies to your Easter branches or bushes. And there you have your handmade bunnies that will brighten your home as Easter decorations.
Instructions 4: Toilet paper roll Easter bunnies
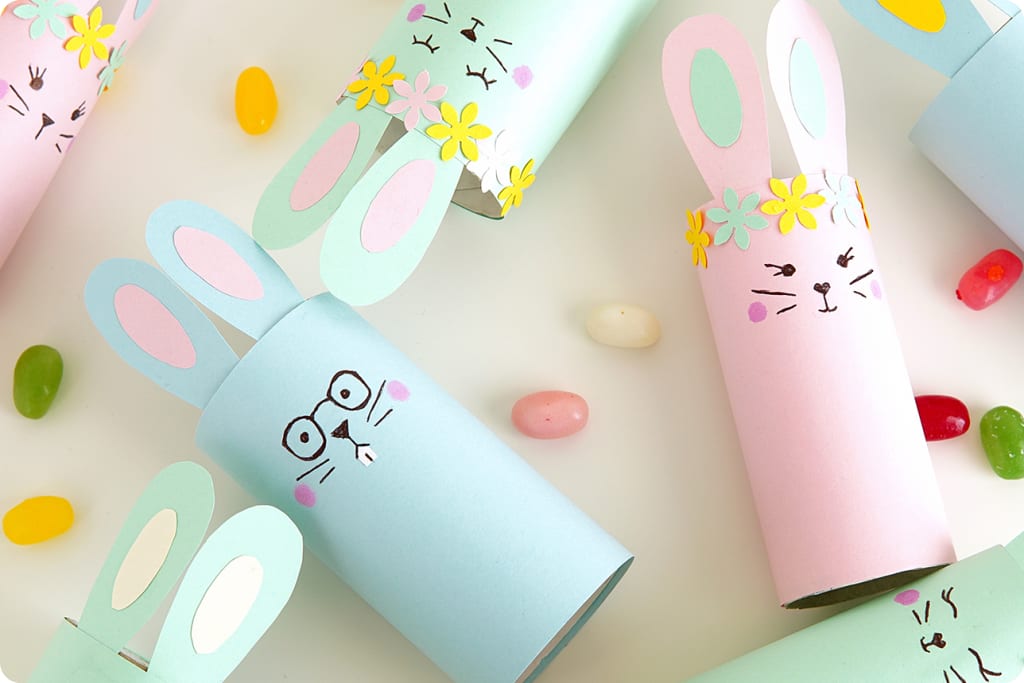
Required materials:
toilet paper rolls
craft scissors
craft glue
fineliner pen
colored construction paper or colored cardboard
optional: googly eyes, yarn, ribbons
Here's how:
First, cut your construction paper in the colors you want into strips. Cut the paper strips so that they match the height of the toilet paper rolls and wrap around the entire roll.
Now glue the cut construction paper strips to the toilet paper rolls. Spread glue over the entire strip and then wrap them around the rolls.
Now create the details: whether eyes, noses, or whiskers – draw everything onto your toilet paper rolls with a fineliner pen. You can also sketch these details on construction paper, cut them out, and then glue them on.
Paint the ears for your cute bunnies onto construction paper in the colors of your choice. Then cut them out and attach them to the front from the inside. Our tip: To get bunny ears in the right size, you can first hold the drawings briefly next to the toilet paper rolls. This ensures you craft the correct proportions.
And there you have your homemade toilet paper roll Easter bunnies.
Instructions 5: Easter bunny window decorations
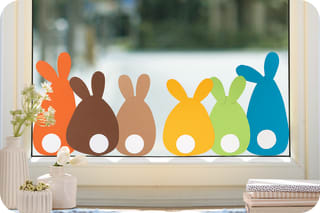
Required materials:
paper or window film
craft scissors
craft glue
adhesive putty
Here's how:
Pick a bunny design that you particularly like and that is also simple.
Trace the design onto cardstock and cut out the individual parts one by one.
Then glue the ears onto your bunnies' heads. Also attach the little tails in the right place.
Once your colorful window Easter bunnies are finished, it's best to attach them to the window with adhesive putty. That way you can remove them from the window panes more easily later.
And there you have your brightly colored Easter bunny window decorations.
Instructions 6: Felt bunny slot baskets
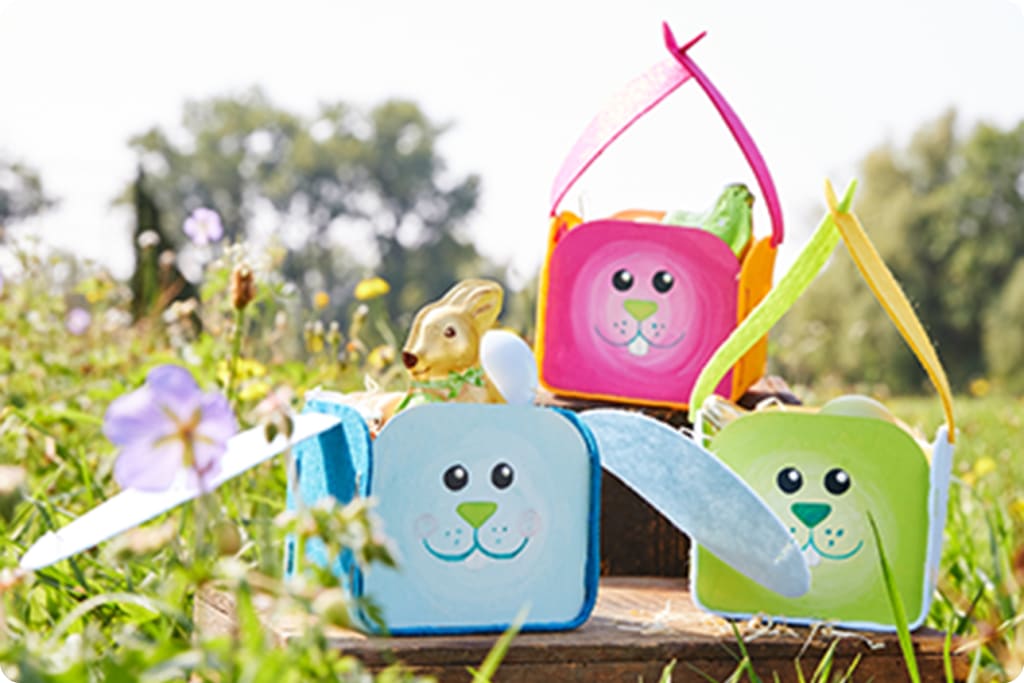
Required materials:
thin plywood board
felt fabric
pens & paints
pearl markers
glitter or other materials for decorating
Here's how:
First cut the wood pieces into any square shape you like; they shouldn't be too large. Then paint them with the colors and pens you like. You can also decorate them with pearl markers, glitter pens, etc. The design is entirely up to you. Our tip: To ensure your mini Easter baskets are color-coordinated, the colorful hues that match the selected felt work especially well.
Once you've finished painting your bunny wood cutouts, cut your felt. It must be at least three times the length of your wood piece. The width is up to you. Then use glue that bonds felt and wood well, and glue the wooden cutouts to the color-matched felt pieces.
Now all that's missing are the bunny ears, which also serve as handles for your felt slot baskets.
Finally, fill your cute Easter baskets with small items and close them. And there you have your beautiful felt bunny slot baskets, which you can use as small gift boxes.
Frequently asked questions about crafting Easter bunnies
How long do children believe in the Easter Bunny?
Which motifs, besides the Easter bunny, are suitable for Easter crafts?
What alternatives are there to crafting Easter bunnies?
More Easter inspiration in our magazine

Image credits:
Easter bunnies made of modeling clay © pusteflower9024 - stock.adobe.com
Easter bunnies made from toilet paper rolls © pusteflower9024 - stock.adobe.com