Guide: Make lanterns as window decorations
Required materials
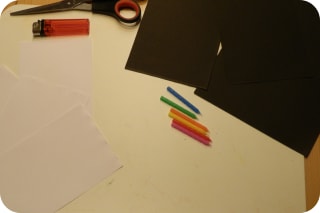
Birthday candles with candle holder for cake or other solid-colored candles made of colored wax
white paper (A6 size)
black construction paper (A6 size or slightly larger)
thin ribbon
craft mat
scissors
pencil
ruler
glue
for the parents:
lighter or matches
Tips for parents
This craft idea is suitable for children from about 5 years old and can be carried out easily with a little help from parents. However, you should observe a few important points: Stay with your child at all times and point out the dangers of open flames. Explain that the candle should be held a short distance above the paper. The flame must not come too close to the paper. Do not leave your child unsupervised with candles, lighters or matches and make sure the child only touches the wax after it has cooled for a few seconds.
Instructions for crafting
Place a white sheet of paper on the craft mat. Choose a candle, put the candle holder on as a finger guard and have the parents light it. Now hold the candle at a slight angle a short distance above the paper and let the wax drip onto it.
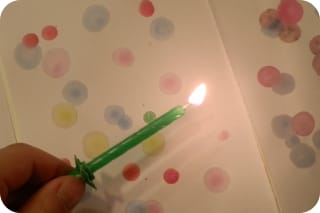
You can blow out the candle after five to ten drops and change the color. You may need to trim the wick in between so that the candle doesn't produce soot or burn too strongly.
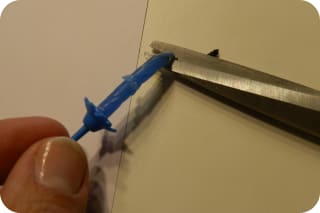
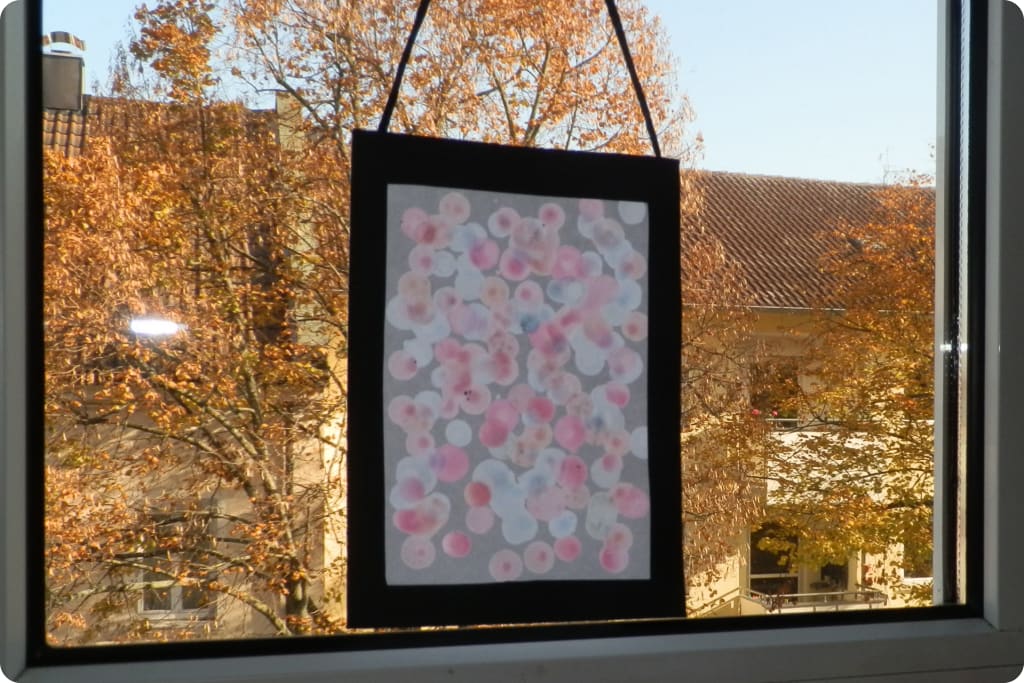
When the wax drops are dry after a few seconds, you can hold the picture up to a light or window as a test. It then looks like this, for example:
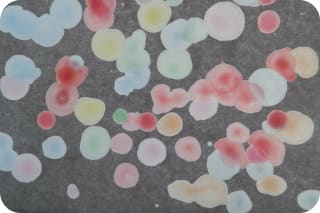
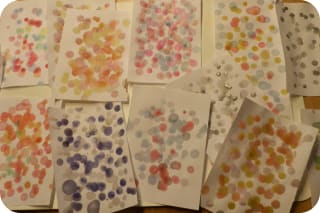
This is how you can drip wax onto window pictures in a variety of colors:
Now the window pictures need a frame so that they look like lanterns. Measure about 1.5 cm in from each side and connect the measured points with lines.
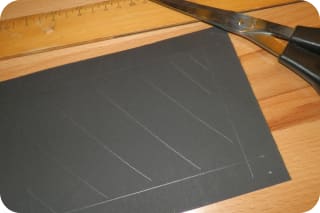
Then cut out the inner area (in the photo it is shaded). This creates a frame:
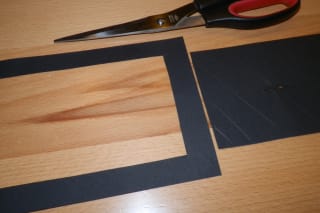
Place the frame on the craft mat and apply the glue. Now you can stick the window picture onto it. Which side is visible later (the front with the wax drops or the back) is up to you. Both look nice.
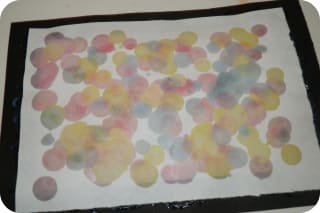
Now all that's missing is the thin ribbon for hanging. Glue that on from the back as well. Then you can hang the finished lanterns on your window.